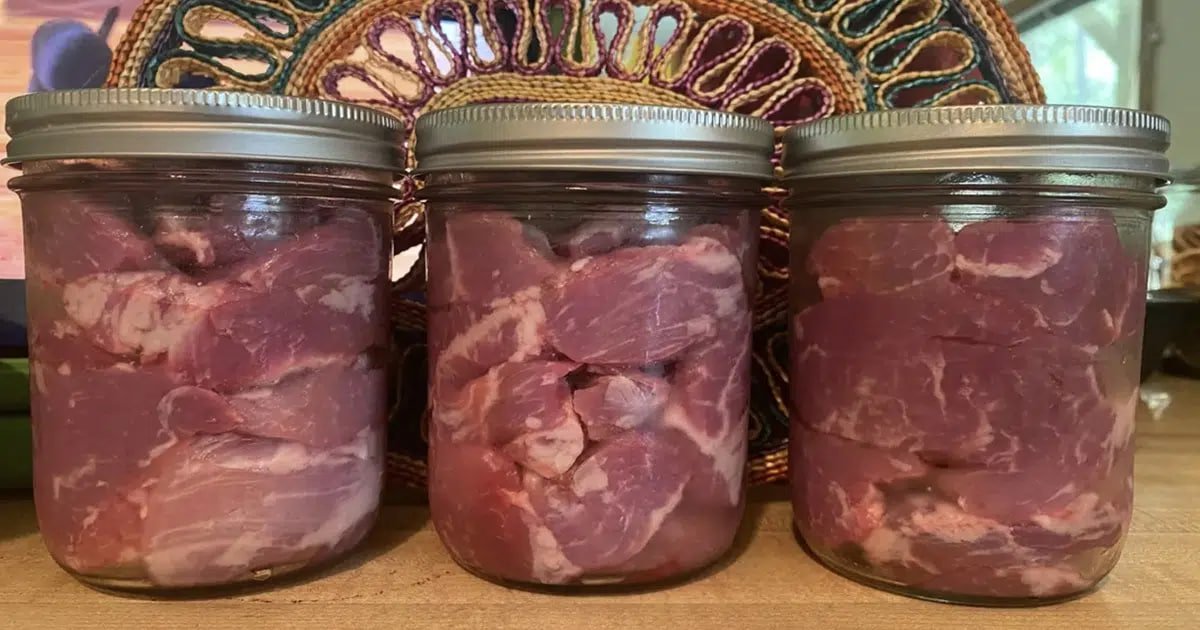
Step by Step: This is how I put meat & rice in jars
Prepare the meat.
Chop up the beef or pork neck into bite-size pieces. I usually sear mine in a little oil first – not necessary, but believe me, it makes the final product taste like you’ve cooked it for hours because of the caramelization.
Prepare the vegetables.
Onions & carrots diced. No need to get all fancy here – this is not MasterChef; it’s dinner insurance.
Rinse the rice.
This is the important step. Rinse the rice until the water is almost clear. If you don’t rinse it, it will become gluey in the jar, and nobody wants that!
Combine everything.
In one large bowl: rice, seared meat, vegetables, spices, salt, pepper. Toss it until it looks like a very rustic pilaf-in-progress.
Fill your jars.
Ladle the mixture in but leave two inches of headspace. Don’t cram it in, it needs some room to breathe.
Top with boiling water or broth.
Pour until the mixture is just covered, making sure to keep that headspace.
Seal the jars.
Wipe the rims, screw down the lids until they are snug (not over tight).
Heat Process (The Safety Talk)
Here’s the deal: meat and rice are low-acid foods. That means the only way to make them shelf-stable (and botulism-proof) is pressure canning. A regular water bath (boiling jars for hours) just doesn’t get hot enough to kill the bad stuff.
So, the gold standard (and the only safe way):
- Place jars into your pressure canner with the rack in place (don’t put jars directly on the bottom).
- Add water according to your canner’s manual.
- Lock the lid, vent steam for 10 minutes, then bring to pressure.
- Process quart jars at 10 PSI (69 kPa) if you’re below 1,000 ft elevation (use 15 PSI above that) for 90 minutes.
- Turn off heat, let the pressure drop naturally, then carefully remove the jars.
Yes, it’s a bit of a project. But once you do it a couple of times, it feels as normal as baking a lasagna.
Storage & Shelf Life
Allow the jars to cool overnight. The next day you want to check the lids; they should be concave in the center and sealed tight. If one did not seal, pop it in the fridge and try to eat it fairly soon.
Sealed jars? They’ll happily sit in the pantry for up to 1 year (longer if cool and dark). I personally rotate mine seasonally to be safe and keep them fresh.
What it Tastes Like
Honestly, like a warm hug between a stew and a pilaf. The meat turns buttery soft, the rice absorbs all the flavor, and the broth ties it all together. It’s definitely a rainy-day or after-work meal, when you long for dinner but cooking feels like work.

A Few Last Thoughts
- Do NOT skip the pressure canner; this is about safety, not just flavor.
- ALWAYS leave headspace! Jars that are filled too high will crack or leak.
- Label your jars (I’d never remember the date otherwise).
Would you recommend it?
100%. Whether you’re into prepping, trying to save money, or love the smug satisfaction of being able to snag a whole meal off my pantry shelf, it’s worth the time. There is something both primal (gathering food) and comforting about having the jars lined up, ready to go.
Try it just once. Your ‘future tired self’ will thank you mentally when dinner is just a jar away.